Page #8 |
INSTALLATION MANUAL |
STEP 3: PAGE 2 OF 3 |
FRONT WALL INSTALLATION
DIAGRAM 3.2
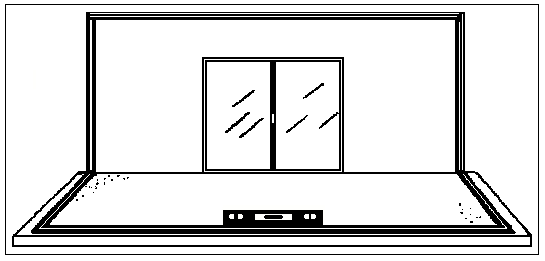
DIAGRAM 3.2
On most concrete foundations & some deck applications, the front wall is not always level. To find out if your foundation is level, place a 4' level on the inside edge of your front wall Bottom Track. If there is a slope of more than 3/4" in the entire width of the front wall, the solid kickplates must be trimmed.
DIAGRAM 3.3
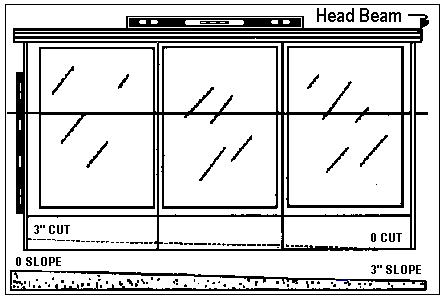
DIAGRAM 3.3
Tops of the Modules need a continuous level surface for the head beam application. Any slope must be trimmed off bottom of the Module.
The kickplates should be trimmed from the opposite direction. If the slope is not uniform, then each Module must be cut separately adding each Module cut to the next Module. Remember, all Modules are not the same size and each cut should be according to the size of the individual Module.
2 stage kickplates (1/2 glass 1/2 solid) gives adjustment to an unlevel deck space for the Module with tempered glass kickplates.
- Remember, if kickplates are not cut to adjust to a slope, your windows may not fit properly
- Remember, if there is slope & you have tempered glass kickplates with no solid fill, your windows may not fit properly.