Page #21
|
INSTALLATION MANUAL
|
STEP 6: PAGE 1 OF 3
|
CLASSIC CURVED ROOF SUNROOM: Roof solid and Glass Installation
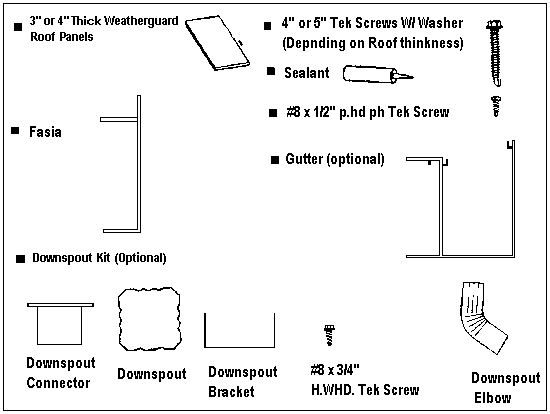
MATERIAL NEEDED

The Weatherguard Roof Panels have tongue and groove sides, which
will interlocking with each other for a snap lock fit. Most Weatherguard Roofs will be
larger than the perimeter of the Bottom Tracks.This larger roof acts like eaves on a
house.This will make the attachment Channel longer than the outside of the side walls.
Check the roof layout for the correct size of the Attachment Channel (the roof projection
should be the exact size, a 10' roof should be 10' ).
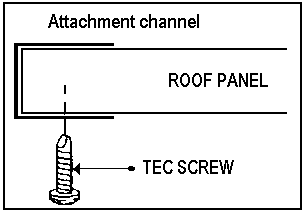
DIAGRAM 6.1
The tongue section of one of the Weatherguard Roof Panel will
need to be cut off. This is to allow for the side Fascia attachment. Start at either end
and place one Weatherguard Roof Panel (with the tongue side facing out) into the
attachment Channel with 4 # 8 x 1/2" Tek Screws spaced equally on the Attachment
Channel. After the Roof Panel is secured to the Attachment Channel, Plumb the front wall. |
DIAGRAM 6.1

|
|

